


Latest blog postings

Popular blog postings


Clearing the mist around road tubeless part I17.12.2018
Well the majority of you guys already knows how to handle a stubborn tire/tape and rim combination, you know. The tire that just doesn't seal! I'm not saying I have the answer to all of your issues with tubeless, but I have been playing around with tubeless for a long time now so i know a lot of ways to solve things and I would like to share them with you.
In a way, it comes down to one thing. You don’t want air to escape between the bead of the tire and the rim as you start to inflate.
First things first
There are three types of tubeless:
1. Ghetto tubeless = only for tubeless wizards who have unveiled all the mysteries.
2. Tubeless ready (TLR) = may work if you do your homework.
3. UST = works and everything goes together easily. as demonstrated in this vid:
Ghetto tubeless
All non tubeless ready or non UST systems will be referred to as ghetto tubeless. All combinations of the three will fall under this moniker as well: IE, a UST rim with a standard tire (generally a bad idea, but this can work sometimes), a UST tire paired with a tubeless ready rim, a standard rim with all UST/TLR tires.
Although a UST rim with a TLR tire will technically work without issues it is still a combination of two systems that weren’t made for each other.
Back in the day when tubeless started, this was about all there was (apart from the UST standard that already was around, but that was heavy and had super stiff tires). We had to tape our own rims, mix a sealant from a couple of ingredients and cut our own valves. All there was, was a post on a forum on how to mix your latex and a short 'how to'. You had to find things out as you went along. This really really helped me understand how tubeless works and where its quirks are.
Tubeless ready
Ah, things are getting easier and well, there is still no standard. Everything that is marked as tubeless easy should work together.
Tire and rim manufacturers made an 'agreement' regarding the circumference of the rim and the tire bead. This can still lead to incompatible items as tolerances may vary.
Tires in this case, mostly, aren't fully butyl sealed like the real tubeless tires, but they have a layer. They will need a sealant to seal the bead and rim interface. The added benefit of this sealant is that it can seal punctures up to the size (generally 2mm less) that the manufacturer recommends.
Wheels often come pre taped and in that case, the tape needs some love for it to work properly. You want the tape fully adhered to the rim so that no air, or sealant, will seep out through the spoke holes.
UST, Universal System Tubeless
The Mavic system First introduced in the MTB scene years ago.
Well this stuff just works like things are intended. It is as simple as, put the tire on the rim, inflate, deflate, insert sealant, inflate and go! Since they work closely together with Hutchinson to produce their tires, they can make them pretty spot on in circumference. That way they have a great interference fit, which makes inflation a blast.
Lubing the beads with soapy water will make installation easier, as does a floor pump with a reservoir or a compressor.
What do you need:
1. UST or TLR rim or wheel set
2. Tubeless tape
3. Rag
4. White spirit or alcohol
5. Tubeless valve and possibly a tubeless valve extender. (needs to be threaded)
6. UST or TLR tire
7. Sealant
8. Pump, preferably with an air reservoir.
9. Sharp knife or small screwdriver
Let’s get to work
Make sure you have about two hours to put into this when this is your first installation with TLR products.
Assuming you have a standard rim and a UST/TLR tire or a UST/TLR rim with a compatible tire here are the steps you need to follow to make it work:
1. Clean rim with solvent (alcohol or white spirit) and let dry.
2. Use tape that is wide enough to go from bead to bead.
3. Place the first 10cm/3” of the tape without stretch in the rim, two spoke holes away from the valve hole.
4. While holding down the freshly placed piece of tape, pull the tape a little tight. While pulling push it down into the rim bead.
5. Go around the rim completely and finish two spoke holes away from the valve hole. The last 10cm/3” piece of tape isn’t supposed to be stretched as well.
6. Take a clean rag, push it down into the rim and make sure it goes from bead to bead.
7. Go around the rim with this rag and rub the tape into place.
8. Poke a small hole in the tape at the location of the valve (either with a small screwdriver or cut a very smal X with a sharp and pointy knife).
9. Insert the valve and secure in place finger tight.
10. Mount first bead of the tire (end at the valve).
11. Now you can choose: either you leave one part of the second bead unmounted and use that space to pour about 40cc of sealant in. Then rotate the wheel a bit so that the opening you used for the sealant is now at 9 or 3 o’clock. Or pop the second bead into place and go to step 18a
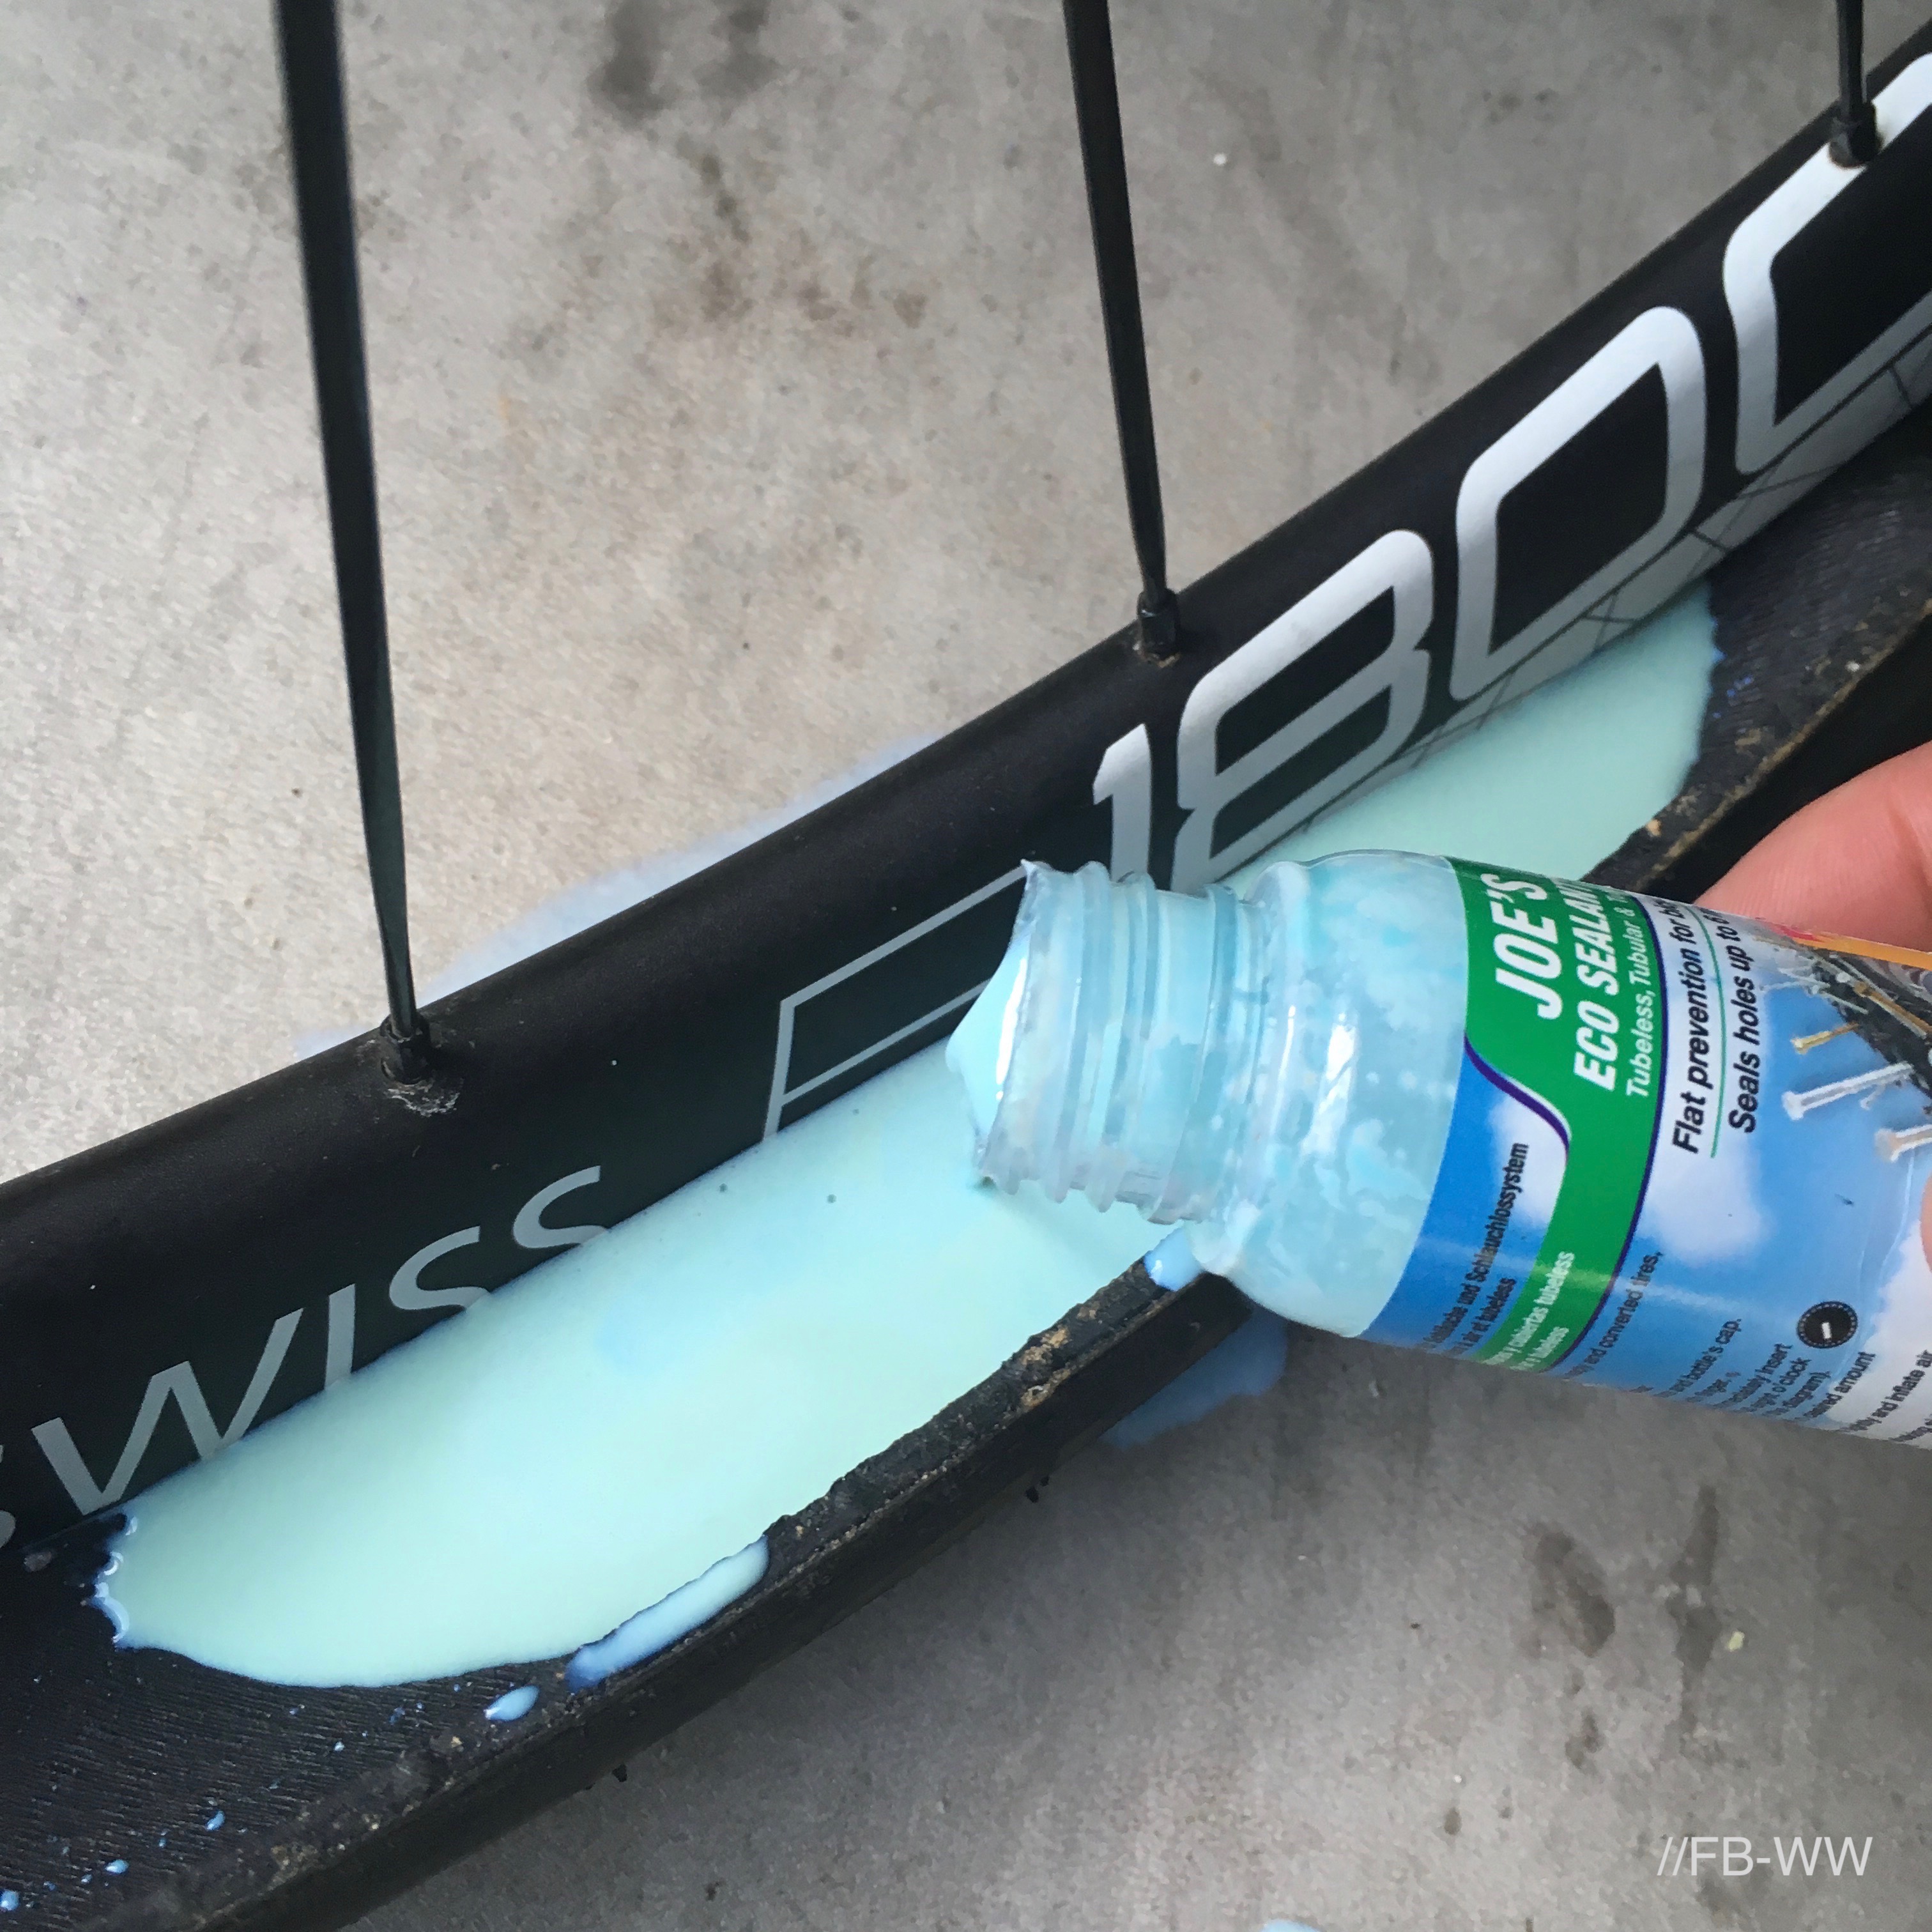
you can add the sealant into the tire when the second bead isn’t fully mounted yet.
11.1 is a special step for RyanH: "sweat and swear a lot, pray to the tubless gods, cry, sweat some more, get a beer, ask wife to help”. The beer part can be very nice.
12. Mount second bead of the tire.
13. Lube the beads with soapy water.
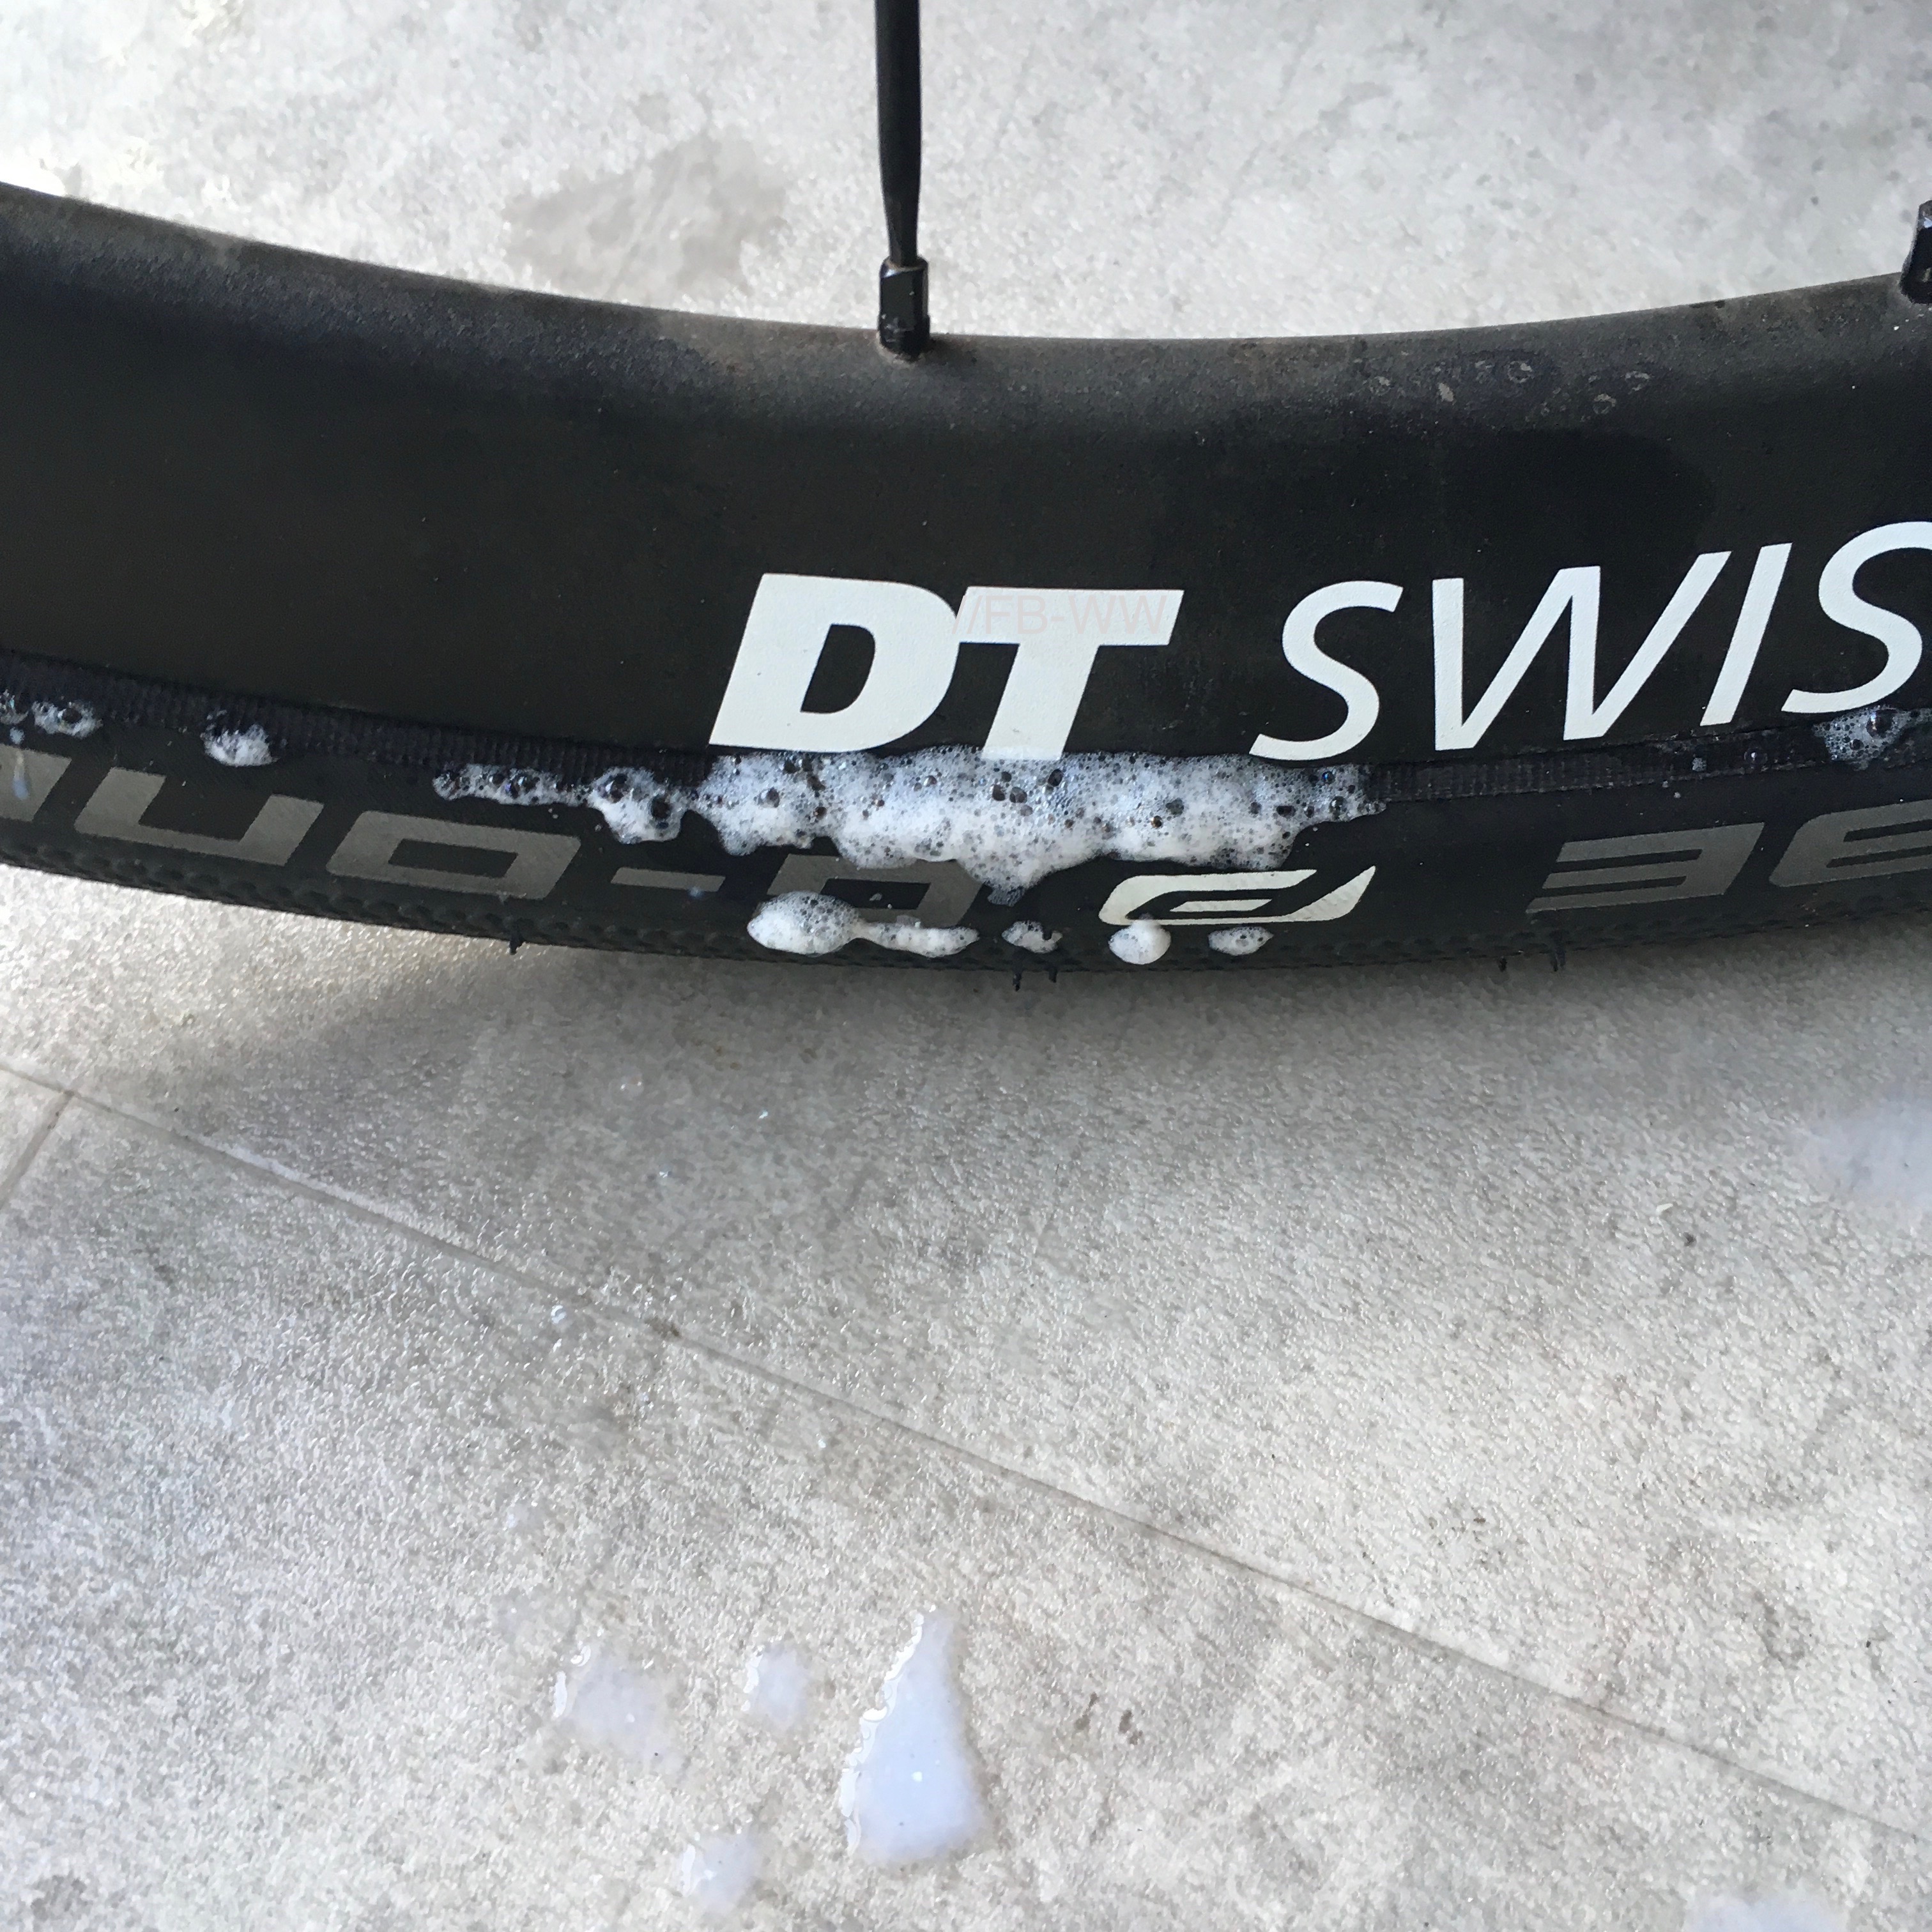
Lubing the beads with soapy water also aids in looking where that air is seaping through the tire.
14. Remove valve core.
15. Pump the reservoir of your floor pump full and install the pump head.
16. Flick switch and let the air into the tire at once, you should hear the beads popping into place.
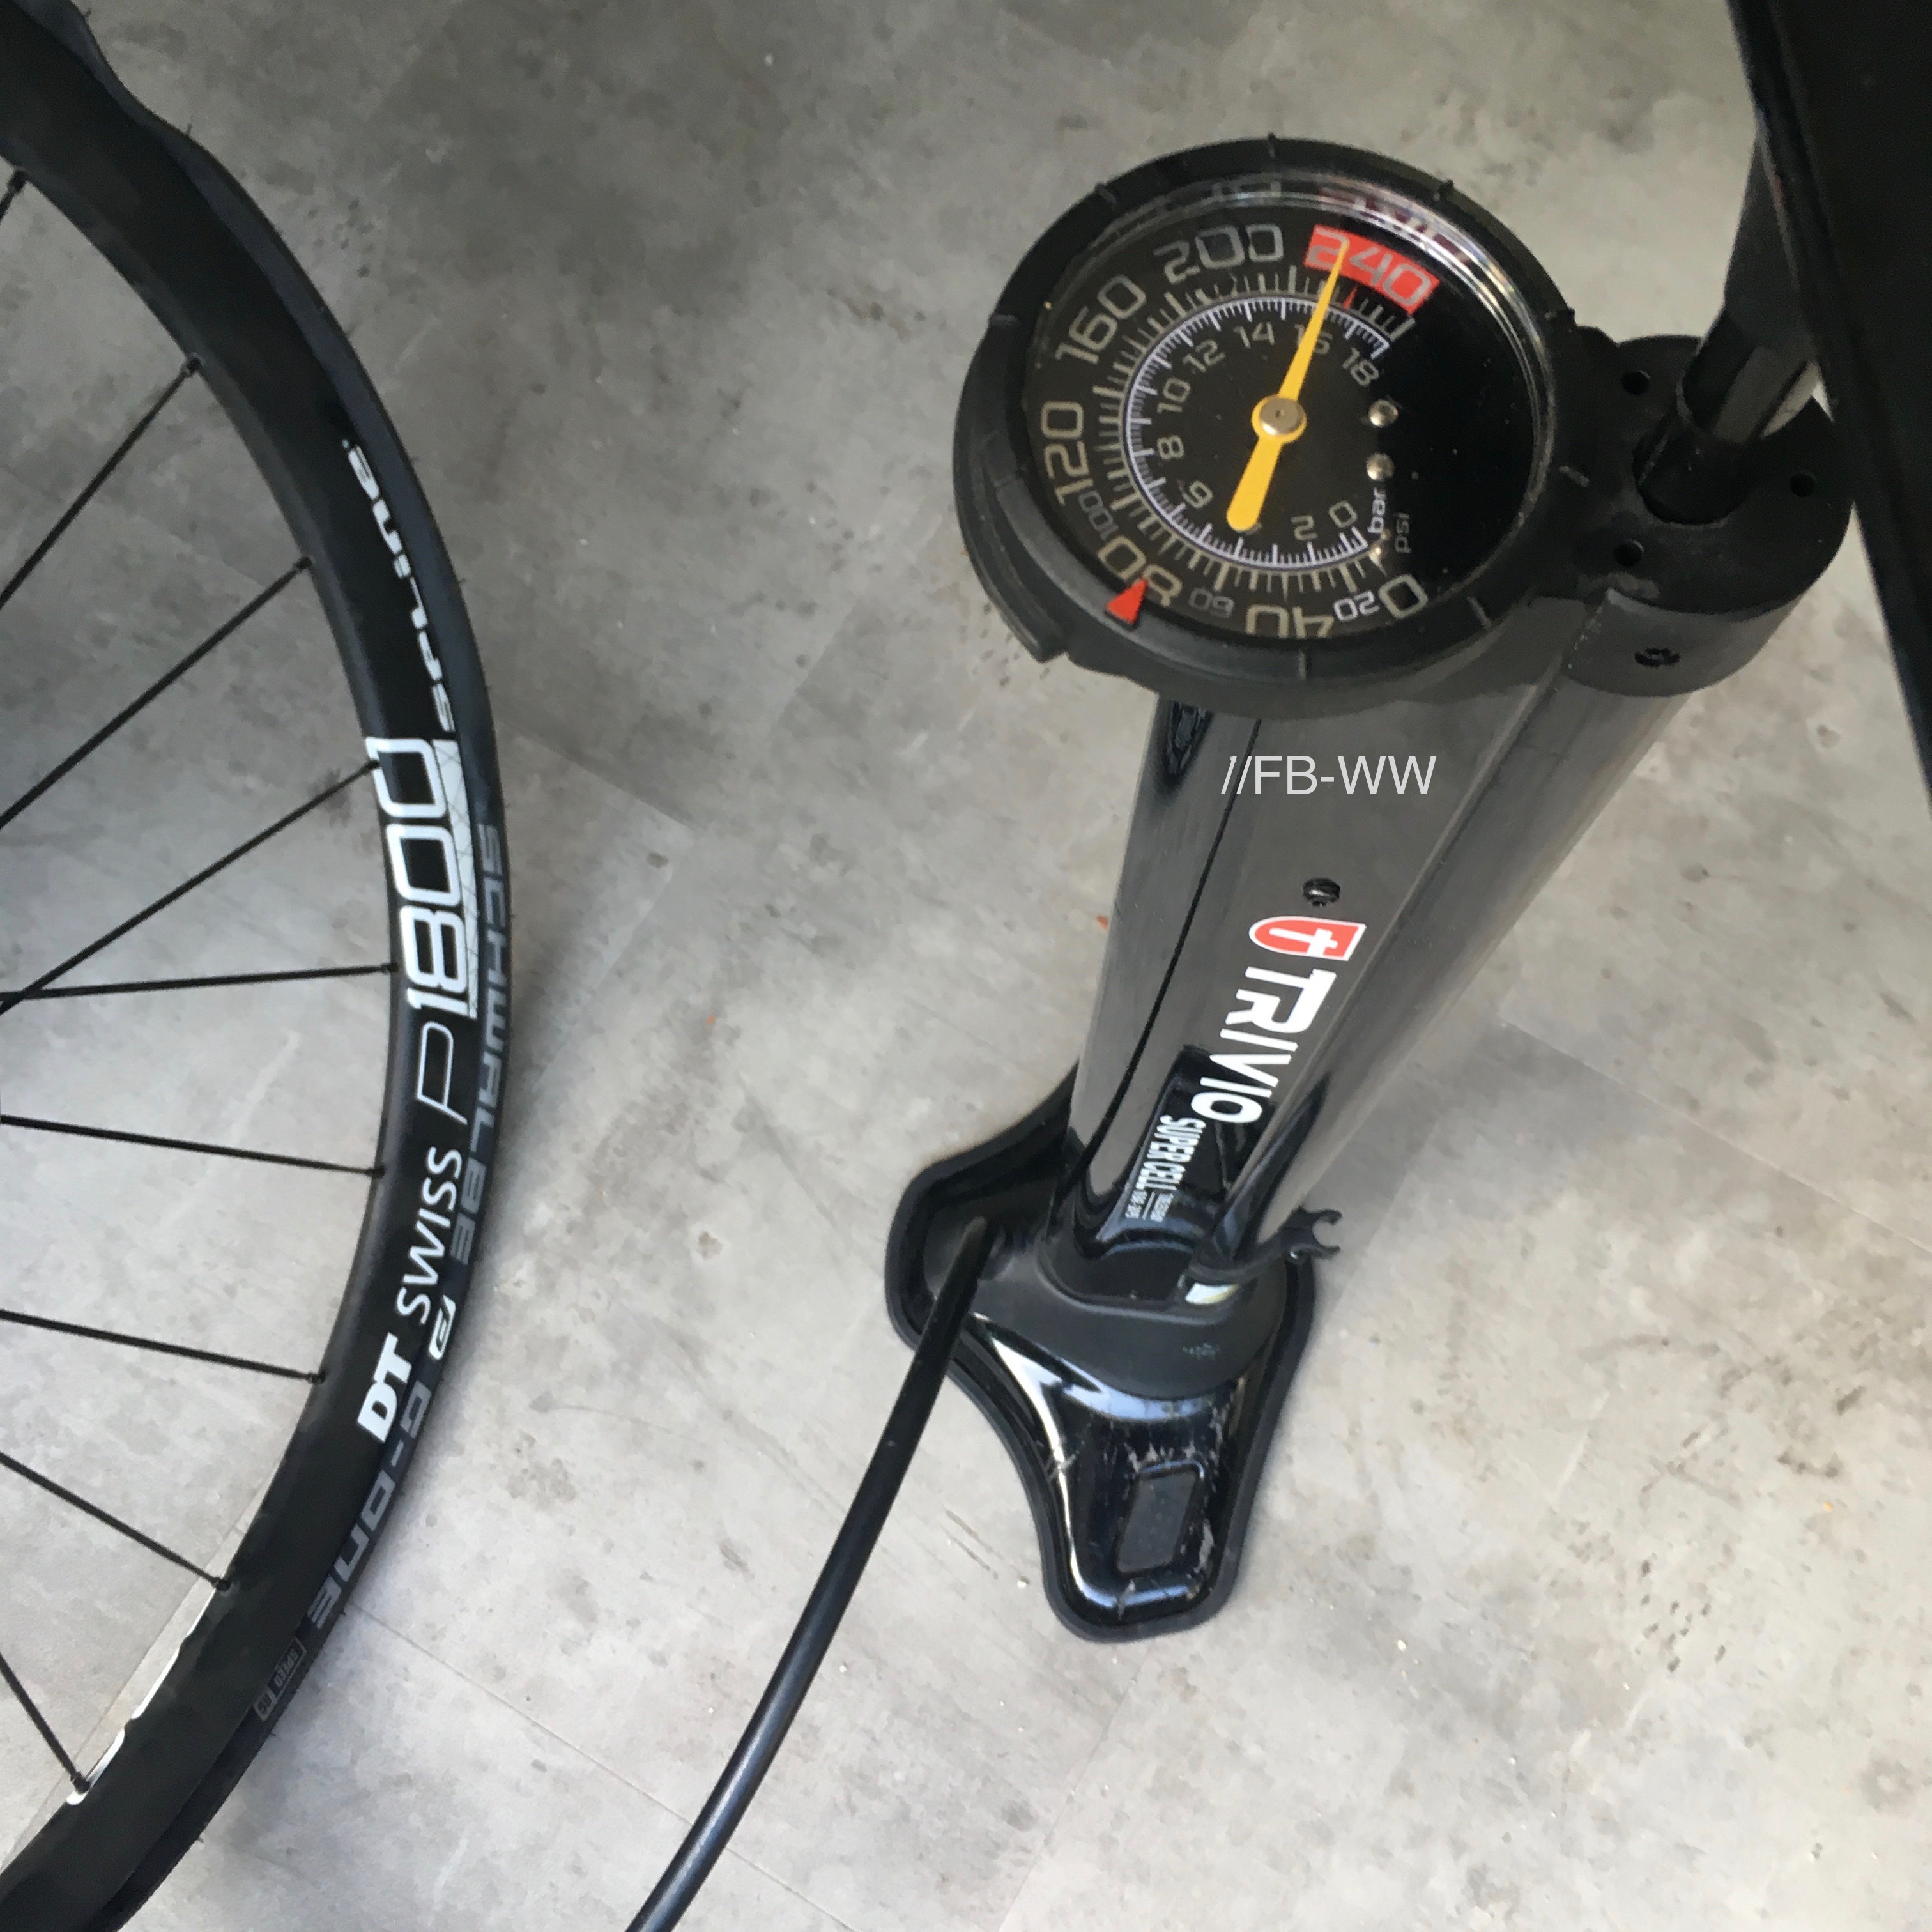
17. Pump up to 4 bar or 58 PSI.
18. Remove pump head and slowly deflate tire.
18a Insert sealant through valve.

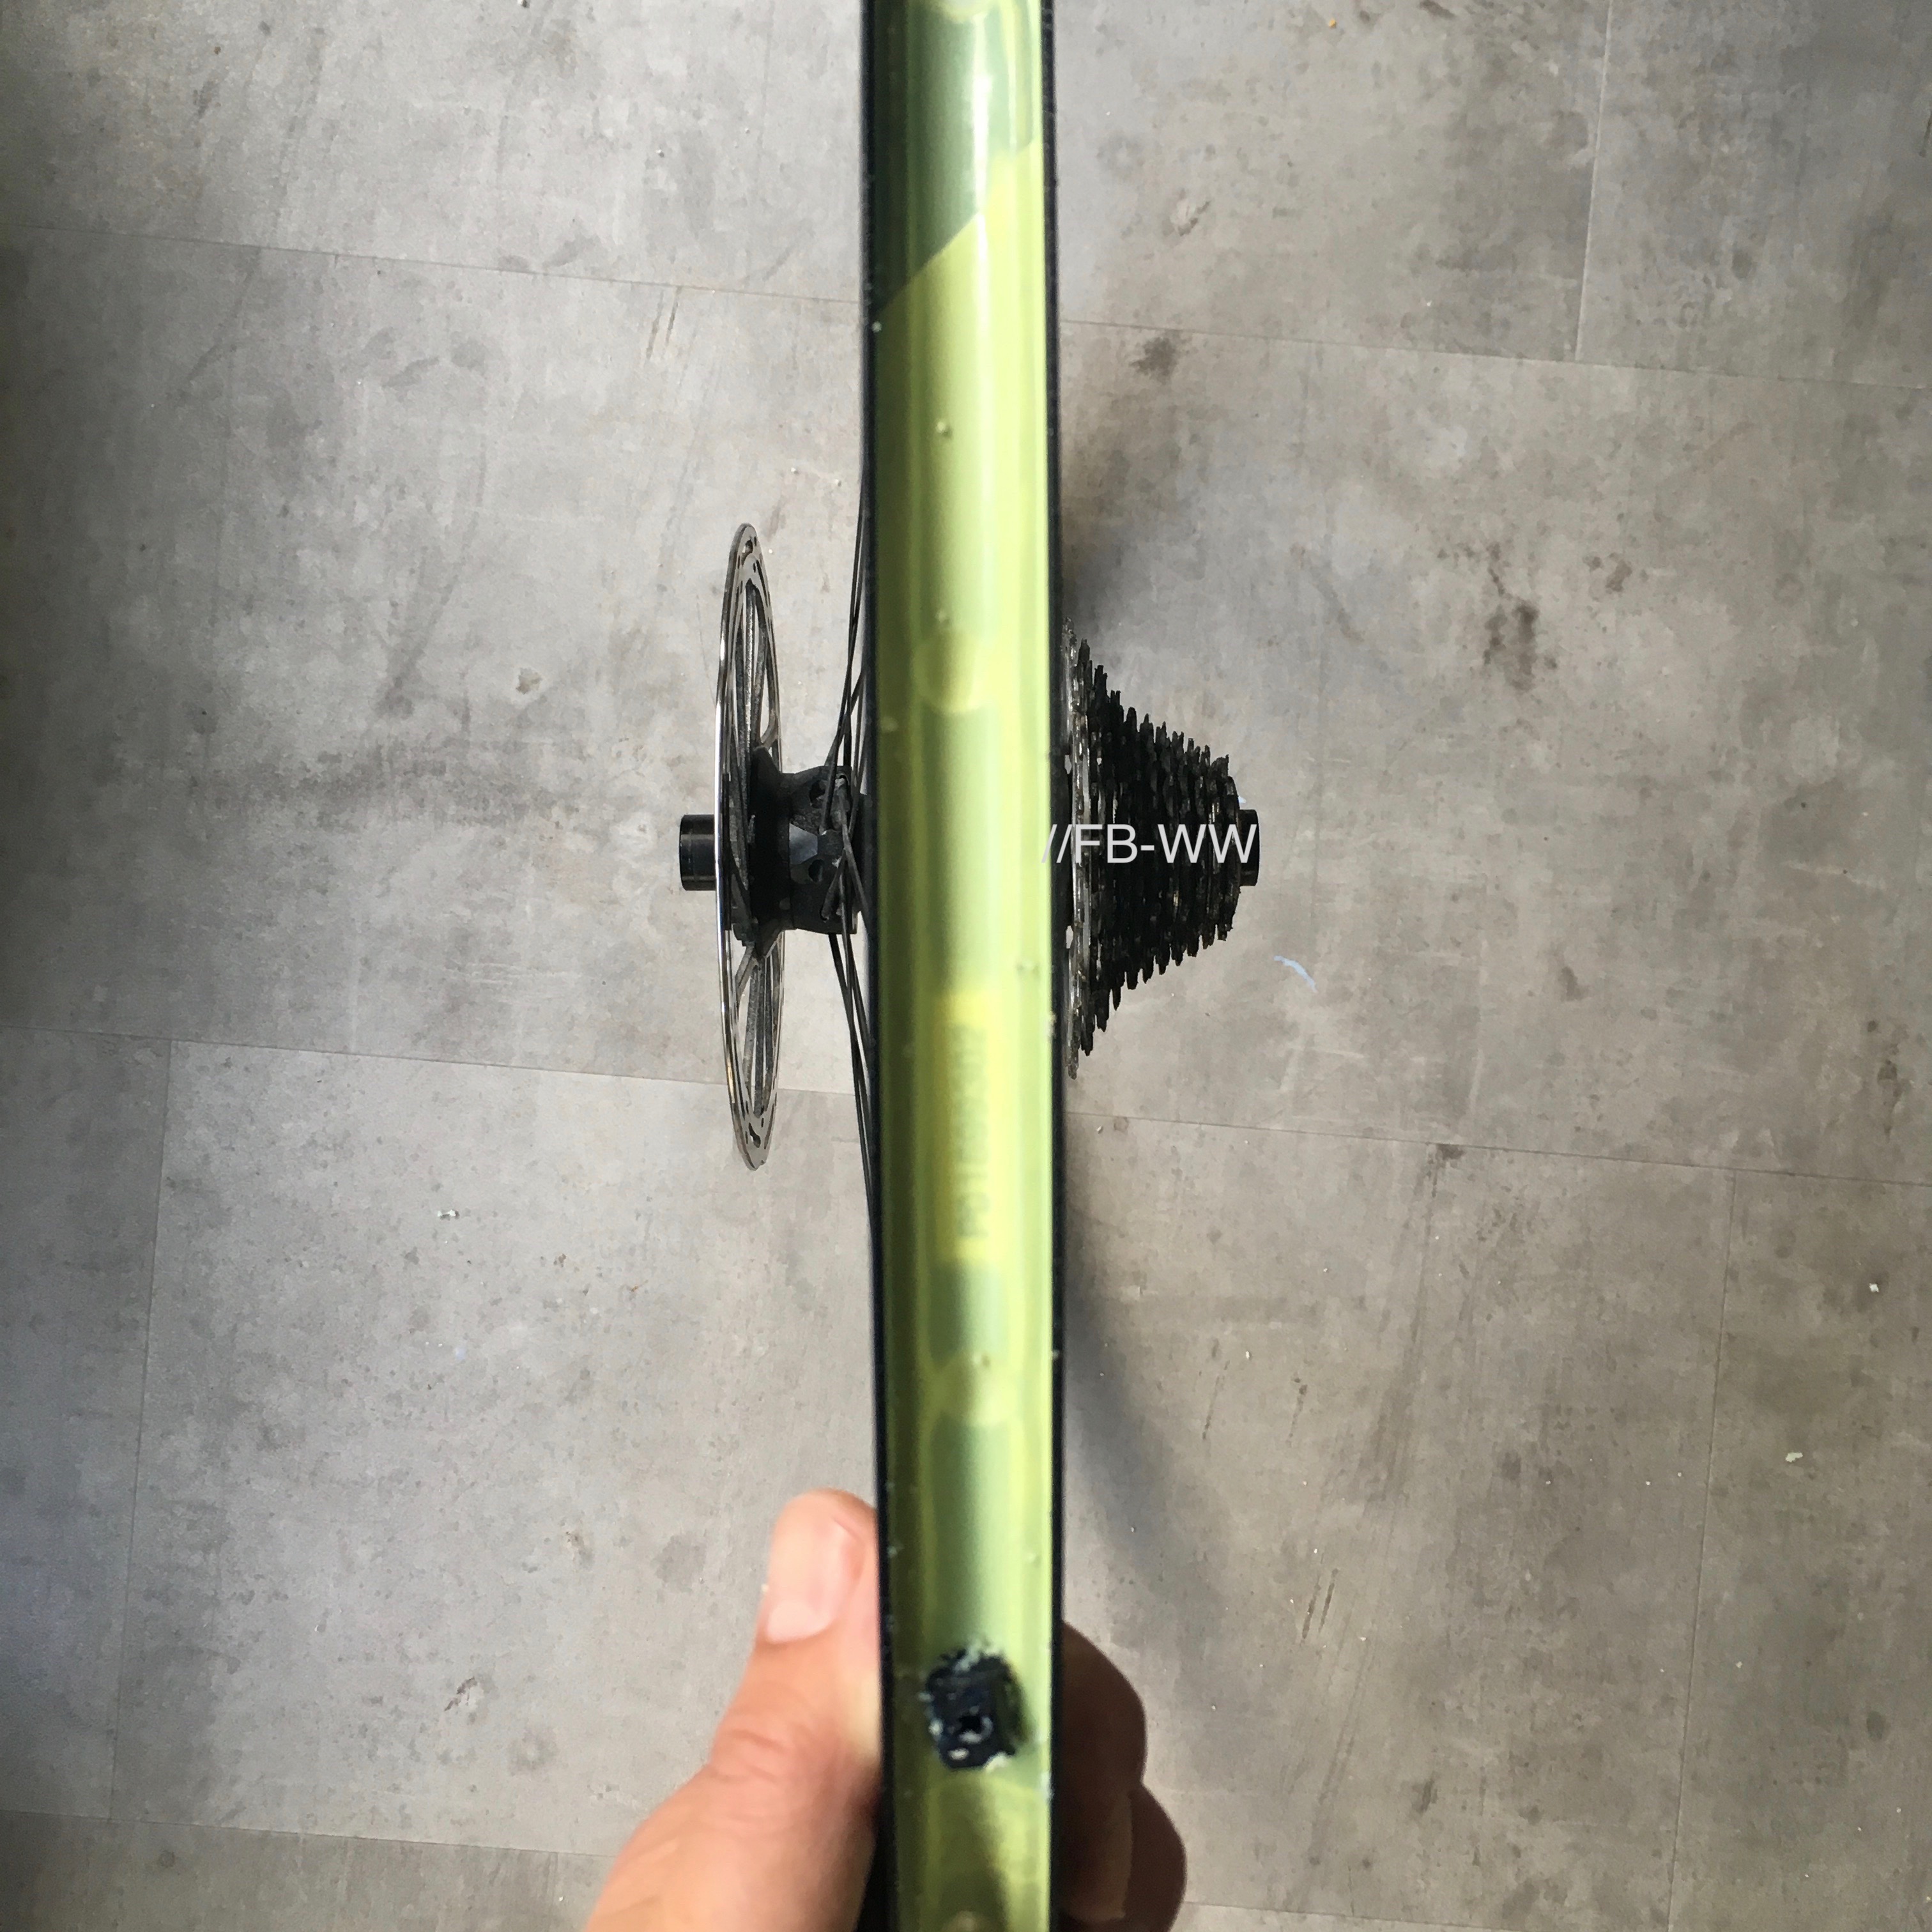
Or use the method mentioned under 18a. Pop the beads in place first, deflate and then add sealant. (note the valve is in the 4 ‘o clock position.)
18b Reinstall valve core.
19. Reinflate to wanted pressure. (Do not go above 6 bar or 87 PSI on 25mm and wider TLR tires)
20. Hold wheel in front of you valve down and wiggle it back and forth so the sealant can get between the bead and the rim. Do this on 16 places on the rim.
This post is far from finished as I would like to add a list with brand, type and internal with of the rim, combined with type of tire and the width that it gives at certain pressures. This way we can benefit all.
Comments


I aways inflate the tyre and get it set on the rim, you can hear the pop. Before I put in the sealant. Then out for a ride to get the sealant working in the tyre.
Just like to point out that the schwalbe tyre in the demonstration pics is not a tubeless tyre. Other than that a good explanation of how to mount them 👍
Thanks for pointing that out Stephen! To be frank, I wasn’t aware of that since they were gifted to me. So this makes the setup a ghetto tubeless 😉. The tires were retired after this season. They treated me well, even though they weren’t meant to be used tubeless in the first place.
nice first post. can you follow up how to remove a tubeless tire without making a huge mess LOL
Hi JB,
Sorry for my late reply. I’d gladly do! tbh I still think it can be done without creating a huge mess. It will always be more labour intense then switching an inner tube, but on the other hand, you probably don’t need to change tires that often. There are tool around like the milkit that can take out a large amount of sealant from your mounted tubeless tire. This way the removal won’t be as finicky.